
A Comprehensive Guide to DIY E-Cigarette Liquid: Create Your Own Customized Vape Juice
Getting Started with DIY Vape Juice
Benefits of making your own vape juice
Making your own vape juice offers several benefits. It allows for complete control over the ingredients including nicotine strength and flavor profiles, ensuring a personalized and potentially healthier vaping experience by avoiding unwanted chemicals. DIY vape juice is often more cost-effective than purchasing pre-made products, offering significant savings over time. It also provides the flexibility to experiment with different flavors and nicotine levels to suit personal preferences. Additionally, the process can be a fun and creative hobby, giving you a deeper understanding of the vaping products you use enabling endless possibilities for experimentation and creation
Preparing to Mix
Essential Ingredients
To create DIY e-liquids, essential ingredients include:
Base Liquids (PG and VG):Propylene Glycol (PG) and Vegetable Glycerin (VG) form the base of e-liquid, influencing throat hit, vapor production, and viscosity.
Nicotine (Optional): Available in various strengths, nicotine adds the desired level of throat hit and nicotine content to e-liquids.
Flavor Concentrates: Essential for creating unique flavors, these concentrates come in a wide range of options from fruits and desserts to tobacco and menthol.
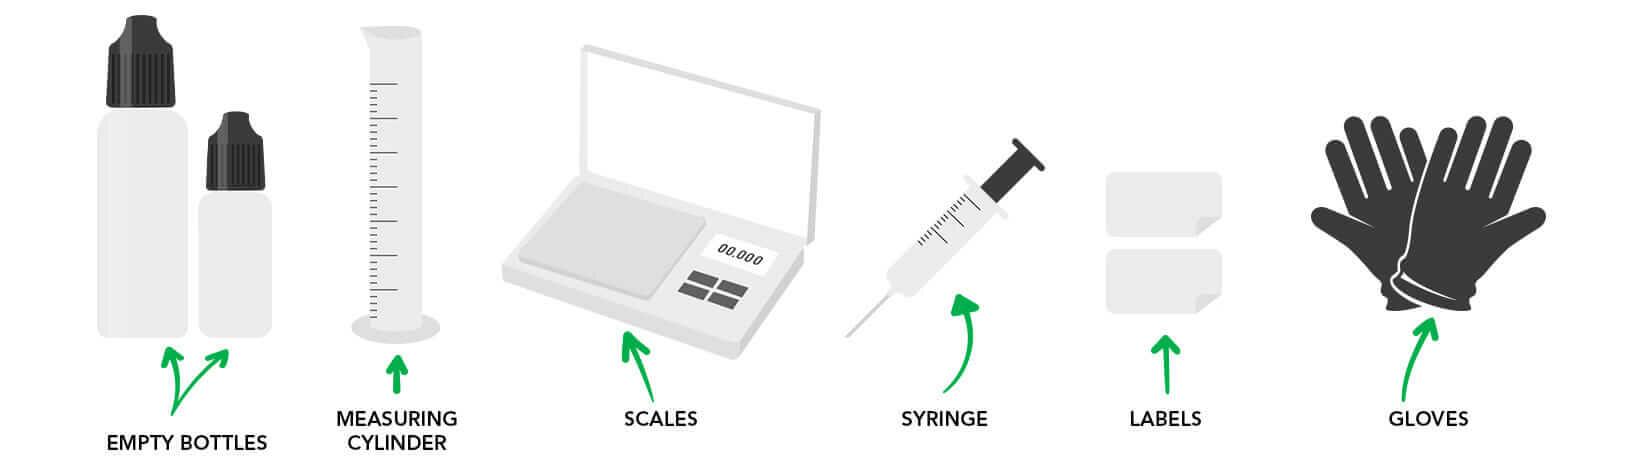
Essential Equipment and Supplies
Mixing Containers: Use bottles or beakers for measuring and mixing ingredients.
Syringes or Pipettes: Precise measurement tools for accurate mixing of liquids.
Gloves and Safety Equipment: To handle nicotine safely, wear gloves and work in a well-ventilated area.
Labels and Markers: Keep track of recipes and label bottles with ingredients, nicotine strength, and steeping dates.
Choosing Your Flavor
Selecting Flavor Concentrates
Selecting flavor concentrates is a key aspect of creating your own DIY e-liquids, allowing you to tailor flavors to your preferences. When choosing flavor concentrates, consider factors such as brand reputation for quality and safety, the type of flavor profile (fruity, dessert, tobacco, etc.) you prefer, and compatibility with your base liquids (PG, VG). It's also beneficial to read reviews and recommendations from other DIY vapers to ensure you're selecting flavors that mix well and provide a satisfying vape experience. Start with a few basic flavors and gradually expand your collection as you gain confidence in mixing. By carefully selecting flavor concentrates, you can create personalized e-liquids that match your taste preferences and vaping style.
The DIY Vape Juice Mixing Process
Mixing Methods
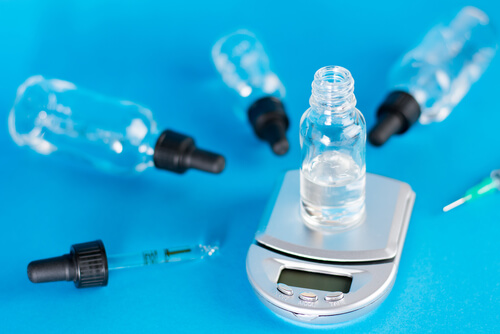
When mixing DIY vape juice, you have the option to measure ingredients either by weight or volume. Measuring by weight offers greater accuracy and consistency, as different liquids have varying densities that can affect volume measurements. Use a digital scale to weigh each ingredient precisely, following a trusted recipe or formula to maintain flavor balance and nicotine strength. Mix thoroughly by shaking or stirring in a clean container to ensure all components are well-blended. Alternatively, mixing by volume involves using measuring tools such as syringes or graduated cylinders to measure ingredients in milliliters or fluid ounces. While this method is straightforward, it requires careful attention to ensure accuracy, as slight variations in measurement can affect the final flavor profile and nicotine content. Consider steeping the e-liquid afterward to enhance flavor development. By choosing the appropriate measuring method and following these steps, you can create customized e-liquids that meet your vaping preferences with reliability and precision.
Step-by-Step Guide
1. Gather Your Supplies:
Ingredients: PG (Propylene Glycol), VG (Vegetable Glycerin), nicotine (optional), flavor concentrates.
Equipment: Mixing containers (glass or plastic), syringes or pipettes (for precise measurements), gloves (if handling nicotine), labels, and a digital scale (if mixing by weight).
2. Prepare Your Workspace:
Clean and sanitize your workspace and all equipment thoroughly to prevent contamination. This includes bottles, syringes, and mixing utensils.
3. Choose a Recipe:
Select a recipe or create your own. Ensure you have the correct ratios of PG, VG, nicotine (if using), and flavor concentrates for your desired nicotine strength and flavor intensity.
4. Measure Ingredients:
By Weight: Place your mixing container on a digital scale and tare it to zero. Measure each ingredient by weight according to your recipe, ensuring accuracy for consistency.
By Volume: Use syringes or graduated cylinders to measure ingredients in milliliters (ml) or fluid ounces (fl oz), following your recipe closely.
5. Mix Thoroughly:
Combine the measured PG, VG, nicotine (if applicable), and flavor concentrates in your mixing container.
Stir or shake vigorously for several minutes to ensure all ingredients are well-blended. This step is crucial for achieving a homogeneous mixture.
6. Steep the E-liquid (Optional):
Some recipes benefit from steeping, which involves letting the mixed e-liquid sit in a cool, dark place for a period (typically several days to weeks). This allows flavors to meld and develop fully.
7. Label and Store:
Label each bottle with the e-liquid name, nicotine strength, PG/VG ratio, and date of mixing. Store your e-liquids in a cool, dark place away from children and pets.
8. Test and Adjust:
After steeping (if applicable), test your e-liquid in your vaping device. Adjust flavors or nicotine strength as needed based on your preference.
9. Clean Up:
Clean and properly store your equipment and supplies after mixing. Dispose of any waste materials according to local regulations.
10. Enjoy Responsibly:
Vape responsibly and enjoy your customized e-liquids knowing you've created them to suit your taste and vaping preferences.
By following these steps, you can safely and effectively mix your own DIY vape juice, ensuring quality, consistency, and satisfaction with each batch. Adjust recipes and methods based on your experience and desired flavor profiles to create unique vaping experiences.
Testing and Adjusting
Testing and adjusting your DIY vape juice is a crucial step to ensure the flavors and nicotine strength meet your preferences. Once you've mixed your e-liquid according to your recipe, fill your vape device and take a few puffs to evaluate the flavor intensity and nicotine hit. If the flavor is too weak or strong, adjust the concentration of flavor concentrates accordingly in future batches. Similarly, if the nicotine strength feels too low or high, you can adjust the amount of nicotine used in your next mix. The key is to adjust ratios and ingredients as needed to achieve desired taste. Testing allows you to fine-tune your recipes until you achieve the perfect balance for your vaping enjoyment. Always label your adjustments to track your changes accurately for future batches.
Safety and Storage
Handling Nicotine and Other Ingredients
When working with nicotine and other ingredients for DIY vape juice, safety is paramount. Wear protective gloves and work in a well-ventilated area to avoid skin contact and inhalation of concentrated nicotine. Use precise measuring tools and handle all ingredients with care to prevent spills and contamination. After use, securely close containers and store nicotine away from children and pets in a cool, dark place. Proper handling ensures your safety and maintains the integrity of your ingredients for future use.
Storing Your DIY Vape Juice
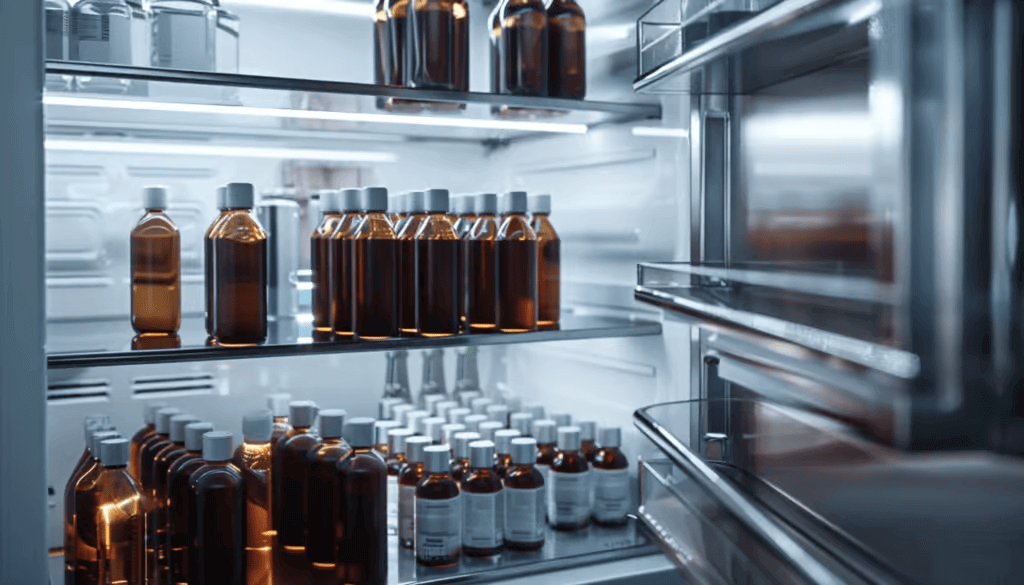
Proper storage of your DIY vape juice is essential for maintaining its quality and flavor over time. Store your e-liquids in clean, airtight containers to prevent contamination and oxidation. Keep them in a cool, dark place to preserve quality, away from direct sunlight and heat sources, as exposure to light and heat can degrade the ingredients and alter the taste. Use glass bottles with tight-fitting lids to prevent oxidation and clearly labelled with the date of mixing, nicotine strength, and flavor details. Additionally, keep your e-liquids out of reach of children and pets to ensure safety. Proper storage practices will help preserve the freshness and potency of your vape juice for an optimal vaping experience.
Troubleshooting and Refining
Common Issues and Solutions
In DIY vape juice mixing, several common issues can arise, but there are effective solutions to address them:
Weak Flavor:
Solution: Increase the concentration of flavor concentrates in your next batch. Allow the e-liquid to steep longer to enhance flavor intensity.
Harsh Throat Hit:
Solution: Reduce the amount of nicotine used or opt for a smoother nicotine base. Additionally, increase the VG ratio for a smoother vape.
Cloudy E-liquid:
Solution: Ensure all ingredients are thoroughly mixed. Use a higher-quality VG and ensure it's stored in appropriate conditions.
Inconsistent Nicotine Strength:
Solution: Use precise measuring tools for nicotine. Double-check measurements and ratios to ensure accuracy and consistency.
Premature Steeping Issues:
Solution: Monitor steeping times carefully. Some flavors may benefit from shorter or longer steeping periods based on their complexity.
Equipment Maintenance:
Solution: Clean and sanitize equipment regularly to prevent contamination and ensure accurate mixing.
By identifying these common issues and applying the corresponding solutions, you can troubleshoot and improve your DIY vape juice mixing process, ensuring a more satisfying and consistent vaping experience.
Experimenting and Improving
Experimenting with DIY vape juice allows you to explore a wide range of flavors and customize your vaping experience to perfection. Start by varying flavor combinations and adjusting ingredient ratios to find your preferred taste profile. Keep detailed notes of each experiment, including ingredient measurements, steeping times, and vaping observations. This documentation helps track your progress and identify what works best for you. Don't hesitate to seek inspiration from online forums, recipes, or fellow DIY vapers for new ideas. Continuously refining your recipes and techniques will lead to a more enjoyable and personalized vaping experience tailored to your preferences.
Conclusion
Summary of DIY Vape Juice Benefits and Best Practices
DIY vape juice offers enthusiasts a rewarding journey of customization and creativity. By mixing your own e-liquids, you gain control over ingredients, flavors, and nicotine levels, ensuring a tailored vaping experience that suits your preferences perfectly. It allows for cost savings over store-bought options and encourages experimentation with flavor combinations. However, safety and precision are paramount: handle nicotine and other ingredients with care, follow accurate measuring techniques, and maintain proper storage practices. With diligence and attention to detail, DIY vape juice mixing can provide a fulfilling and enjoyable hobby while delivering consistent, high-quality vaping satisfaction.
Check out our blog for more information on DIY E liquids.


